


The Tooth Fairy Experience brings tons of fun interactive activities that teach kids how to care for their teeth. One of our favorites is a flossing activity that helps children understand how flossing works while helping them refine their fine motor skills for when they’re ready to floss their teeth on their own. Did you know you should begin flossing your children’s teeth as soon as they have enough teeth that touch each other? Until your child is able to floss their teeth on their own, you should help them, and then encourage them to practice with a fun activity that they can do at home.
Supplies Needed:
Large LEGO® Blocks Play-Doh Yarn or Twine
How To
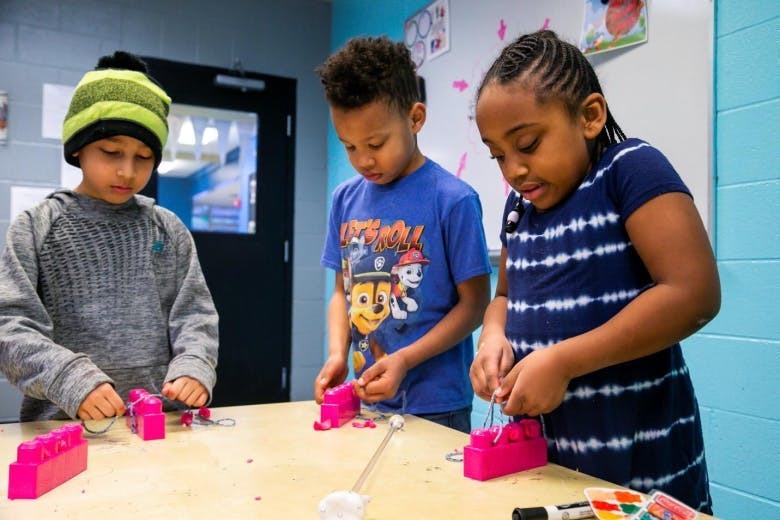
Place the Play-Doh between the ridges of the large LEGO blocks and explain to your child how food can get stuck between their teeth, and how toothbrushes can only brush three sides of our teeth, which is why we need to floss. Using the yarn, help your child place the yarn between the Play-Doh and “teeth” of the LEGO to get the pieces of “food” out. It’s a fun and easy activity that you can do with toys and supplies that are likely already at home – it’s also easy to set up and clean up afterwards.
When you’re ready to put your practice to use when flossing your teeth, here’s how to have proper flossing technique.
- Break off about 18 inches of floss and wind most of it around one of your middle fingers. Wind the remaining floss around the same finger of the opposite hand. This finger will take up the floss as it becomes dirty.
- Hold the floss tightly between your thumbs and forefingers.
- Guide the floss between your teeth using a gentle rubbing motion. Never snap the floss into the gums.
- When the floss reaches the gum line, curve it into a C shape against one tooth. Gently slide it into the space between the gum and the tooth.
- Hold the floss tightly against the tooth. Gently rub the side of the tooth, moving the floss away from the gum with up and down motions. Repeat this method on the rest of your teeth. Don’t forget the back side of your last tooth.
- Once you’re finished, throw the floss away. A used piece of floss won’t be as effective and could leave bacteria behind in your mouth.
Happy flossing!